Filter Panel
The Filter Panel allows users to apply filters to refine the information they view in their workspaces. This page teaches you to apply a filter, access more filters, and change the default filters in the Filter Panel.
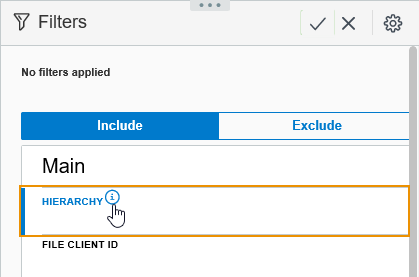
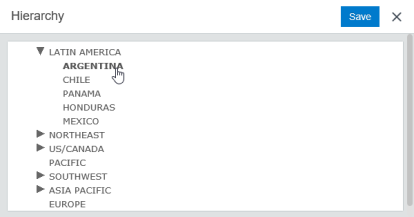
Clicking the Information button next to the Hierarchy field opens the Hierarchy window.

The Hierarchy window displays the appropriate choices available in the Hierarchy field. Click the expanding sections until you find the appropriate hierarchical value.
To apply a filter:
Click the Filter Button on the toolbar to open the Filter Panel.
Fill in the appropriate fields in the Filter Panel.
Click the pulsing orange check mark at the top of the once you have selected your filters.
The records displayed in your workspace now refresh. The filter is applied to the records.
To access more filters:
-
Click the Filter Button on the toolbar to open the Filter Panel.
-
Click the More Filters button near the bottom of the Filter Panel.
Additional filters appear.
To change your default filters:
Click the Filter Button on the toolbar to open the Filter Panel.
Click the Configure Filter button .
.
Click the left and right arrows to add filters to your Main Filters.
Click the up and down arrows to choose the order of your filters.
Click the Save button.


